Brewing your own beer is fun, rewarding, and, if that’s not enough, it’s a good way to beat the federal excise tax on alcoholic beverages. In most states of the union it’s also legal.
Today I’ll show you the process of brewing a batch of beer. It’s not that hard, and doesn’t require much in the way of specialty equipment (I’ll introduce the needed supplies in the course of the process overview).
You start with a set of ingredients specific to the type of brew you’re planning to make. This includes a mixture of grains, some malt syrup (unless you’re doing the more-complex full-grain mash, in which case you don’t need malt syrup), hops, and specialty yeast (baking yeast, or store-bought “brewer’s yeast” won’t do the trick).
These ingredients are best purchased from a brewing supply store. I’ve got one handy in my neighborhood, but you may have to go further afield or order on-line.
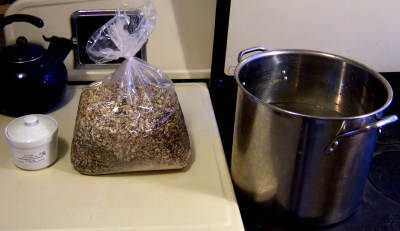 A bag of grains next to my smaller brewing pot (the white jar contains powdered gypsum, which I use to fine-tune our tap water)
I start by raising 1½ gallons of San Francisco tap water to around 158°–160° Fahrenheit. Then I dump in the grains and stir to make sure there aren’t any dry clumps.
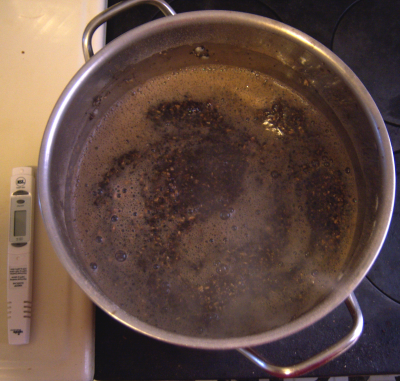 The grains, soaking in the first step of brewing (a nearby thermometer is used to check the water temperature)
This soaking step at this particular temperature activates enzymes in the grain that convert the grains’ starches into sugars, which will later become food for the yeast during fermentation. I soak the grains for about 45 minutes, covering the pot and laying a towel over it for a little more insulation to keep the temperature up.
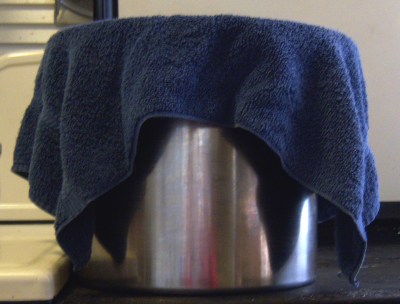 I cover the pot of soaking grains to keep the temperature up during the 45-minute soak
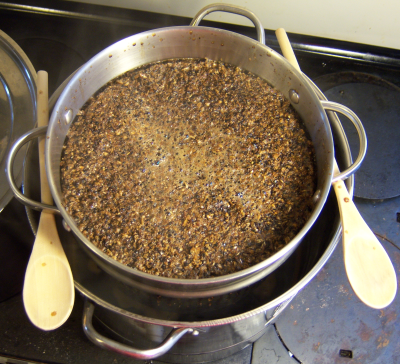
After 45 minutes, I prepare to strain the tea- or broth-like “wort” from the soaked grains into my larger, primary brewing pot. To do this, I use a colander. A few of the grains are small enough to slip through the holes, but that’s okay; they’ll get filtered out later in the process.
 Straining the wort from the grains.
My colander is just narrow enough to partially slip into my larger brewing pot, so I use wooden spoons on the side to keep it propped up.
Straining the wort from the grains.
My colander is just narrow enough to partially slip into my larger brewing pot, so I use wooden spoons on the side to keep it propped up.
In my first, smaller brewing pot, I heat another 1½ gallons of water. When it reaches 180° Fahrenheit, I start to slowly drizzle it over the top of the grains in the colander. This process is called “lautering” or “sparging,” depending on who you talk to (and I think there’s some sort of religious war about which term is right, so just call it “drizzling” to be safe).
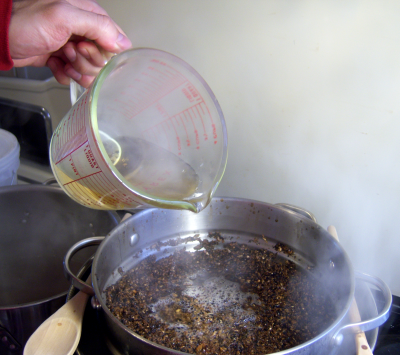 Drizzling water over the grains in the colander
Much of the fuss of the previous steps can be reduced for the beginning brewer by using a mesh bag to hold the grains. You soak this bag like a big tea bag, and don’t bother with the colander drizzling step at all.
Next, I bring the wort up to a boil. Then, I immediately cut the heat (if you’re using an electric stove, you’d remove the pot from the burner), and add the malt syrup. The malt syrup supplements the sugars that come from the grains. Some brewers do a “full-grain mash” in which all the sugars come from the grains and no malt syrup is necessary, but this requires more fuss and more equipment, so I don’t bother.
Some recipes call for a powdered malt extract instead of a syrup. It can be hard to handle, since it turns from powder into sticky gobs the minute it hits the steam coming from your brewing pot. Otherwise, though, it’s basically the same technique.
It’s important to cut the heat before you add the syrup so it doesn’t burn on the bottom of the pot, which would add a bad taste to your beer.
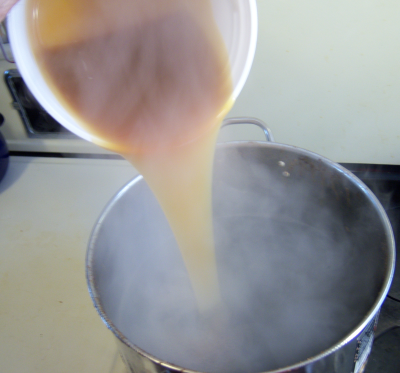 Adding malt syrup to the wort
Once I’ve added the malt syrup and stirred it into the wort well, I bring the wort back up to a boil.
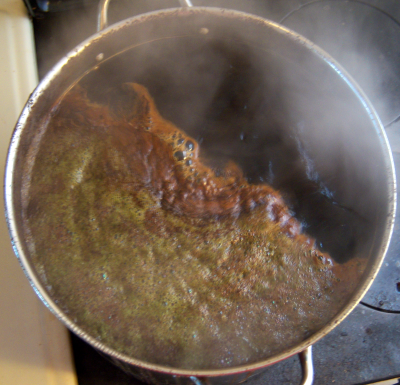 Boiling wort
Periodically during the course of the boil I will add hops to the boiling wort. Which type and how much and when all depend on the specific recipe. You can find whole hops flowers, and you can even grow your own (we’ve got a couple of vines out back), but more typically you’ll use compressed pellets of hops that look like something you’d feed the guinea pig.
When you add the hops, the smell of brewing beer will infuse your kitchen. Don’t give in to the delicious opiate langour! There’s still more work to be done!
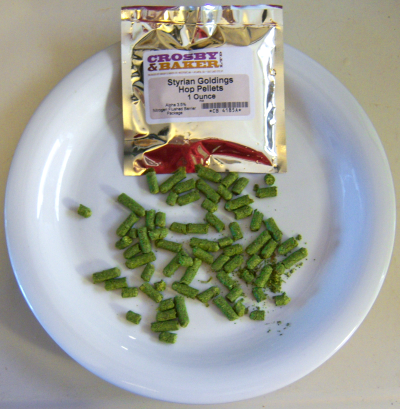 Hops pellets
The wort boils for about an hour, total. After that, it has to cool before it goes into the carboy I use for a fermentation chamber. Now is when sterilization becomes an issue. The wort is a nutrient-rich solution just waiting to be feasted on by microorganisms. You have to make sure that the right microorganisms get established before any of the wrong ones have a chance to get a foothold.
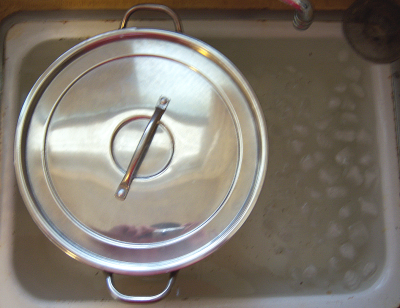 Cooling the wort more quickly by putting the pot in an ice bath
Your fermentation chamber and whatever you use to transfer the wort to it need to be clean. You also need to use an airlock on your fermentation chamber so that carbon dioxide released during the fermentation process can escape, but unsterile outside air cannot get in. The airlock is a simple, inexpensive plastic device you can pop on top of your carboy with a rubber stopper.
After you add your cooled wort to your carboy or other primary fermenter (some folks just use a plastic tub), you typically add a specialty brewing yeast — either a packet of dry yeast or a vial of liquid yeast. In my case, I’m going to do things a little differently.
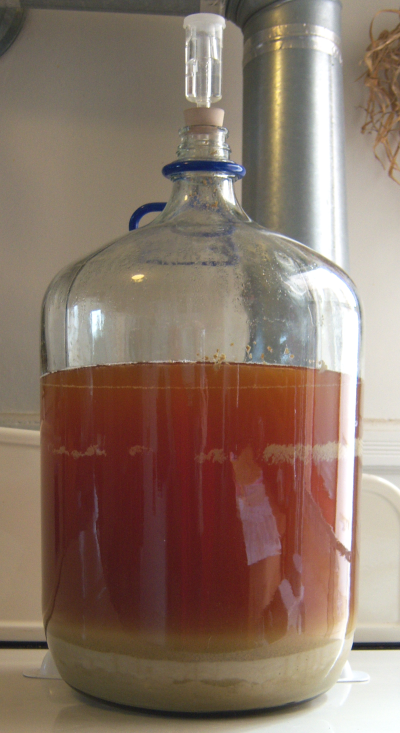 A pale ale fermenting in my primary fermenter.
Note the airlock on top.
A pale ale fermenting in my primary fermenter.
Note the airlock on top.
Part of the way through the fermentation process, you’re supposed to transfer your brew from your primary fermenter into a secondary fermenter. When I first started brewing, I only had one fermenter so I skipped this step and still made perfectly tolerable beers. But now I have two secondary fermenters and a primary, so I do this transfer.
Because of this, today I’m both making a new beer (an oatmeal stout) and transferring my previous beer (a pale ale) to its secondary fermenter. Rather than pitching new yeast onto the wort for the stout, I’m just going to throw the stout onto the yeast-ridden dregs of the pale ale that are left behind in the primary fermenter. (You can do this a few times, say the brewmasters, but apparently the yeast goes awry after a while and you have to start from scratch with a fresh batch eventually.)
So first, I siphon my pale ale into the secondary fermenter, leaving the dregs behind, then I put a sterilized funnel over the primary fermenter and dump the stout wort on top of it.
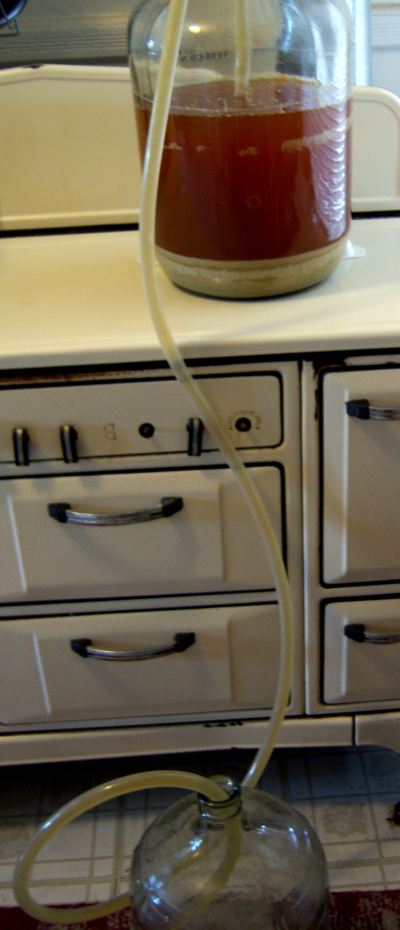 Siphoning the pale ale from the primary to the secondary fermenter (co-starring our 1930s-era Wedgewood stove)
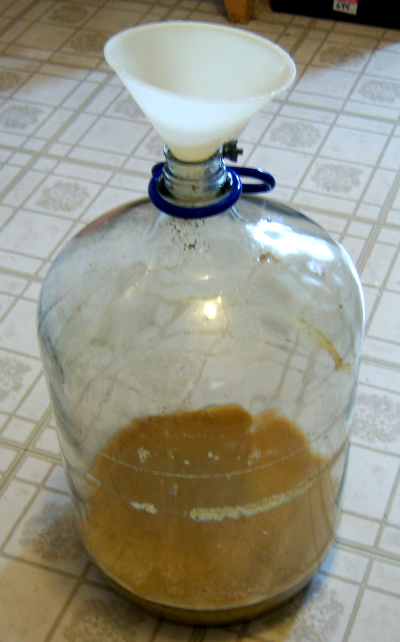 Preparing to fill the primary fermenter with the stout
In another couple of weeks I’ll be ready to bottle the pale ale. I recycle beer bottles, rinsing them after I pour, and then sterilizing them by putting them through a heated-dry cycle in the dishwasher just before bottling.
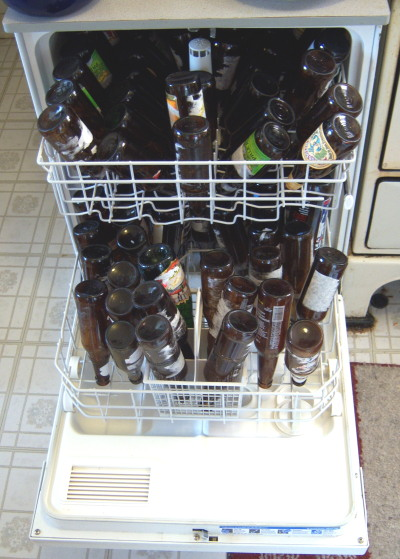 Sterilizing bottles in the dishwasher
I use a special, bottle-filling hose attachment (another inexpensive plastic necessity) to fill the bottles — maybe four dozen per batch — and then cap them using a hand-me-down stand capper. Hand-held cappers are also common. Some people prefer the self-capping Grolsch-style bottles or even the cork-and-cage champagne style caps.
Before bottling, I boil a cup of priming sugar (ordinary dextrose) in a cup of water, cool this, and mix it gently into the brew (trying to distribute it throughout without stirring up the sediment too much). This extra sugar gives the yeast a little something more to work on while the beer is in the bottles, causing enough additional fermentation to carbonate the beer.
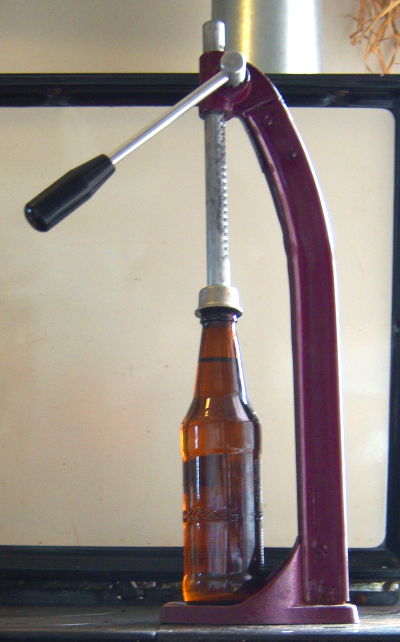 I use a hand-me-down stand capper to bottle my beer
Then, depending on the variety of beer, it’s a wait of three weeks or more before they’re ready to drink.
It isn’t rocket science, though it does take a little time and some uncommon equipment and ingredients. Later maybe I’ll illustrate how to make hard cider, the process for which is like a much simpler, stripped-down version of what I’ve shown today.
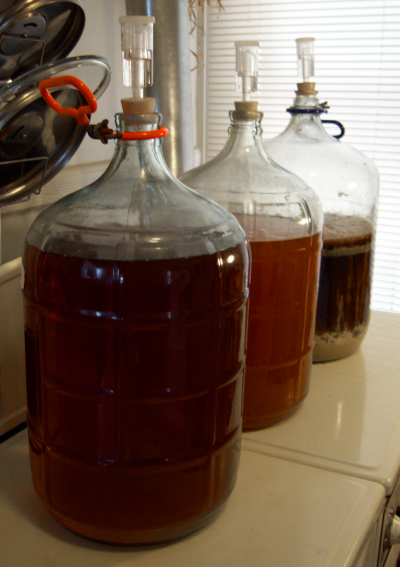 A pale ale about ready to bottle, one recently-transferred to the secondary fermenter, and a freshly-brewed stout just beginning to ferment